Categories
Search
Connecting to the Google Search Console API
Part 1: The Ground Work
We recently required automating a number of reports that we generate monthly. This process proved difficult as much of the documentation surrounding the Google API’s changes so often. As of March 2024 – this post should highlight the important steps for connecting to the Google API’s for consuming data.
You will need the following requirements.
- A Google Search Console account with at least 1 verified site.
- A Google Cloud Console Project.
- The Google Search Console API will need enabled for the project.
- A Google Cloud Console Service Account.
- Keys will need generated for the Service Account to Access Google’s APIs.
- The Service Account will need added to the Search Console Site with Full Access.
Verify a Site in the Google Search Console
Navigate to Google’s Search Console at: https://search.google.com/search-console
Using the drop down at the top of the page, click “Add Property”. There are multiple ways to add and verify a website. You can add a record to your DNS, or you can upload a file to the webroot of your site, you could even get “verified” if you have Google Analytics already running on the site. Work through adding your website here as either a “Domain” property or a “URL prefix” property, they both will work the same for this example.
Create a Google Cloud Console App
Navigate to Google’s Cloud Console at: https://console.cloud.google.com/
Using the drop down at the top of the page, click “New Project”. You’ll need to give the project a unique name and make sure it is selected while performing the following steps.
Assign Google Search Console API to the Project
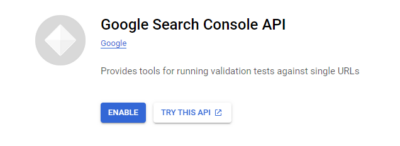
Once the project is created and selected, you’ll need to assign the proper APIs and Services to it. If you already know the name of the API, the search bar at the top of the page is an easy way to navigate to that API. For this example, typing “Google Search Console API” will lead to the correct page.
Create the Service Account to Access the API
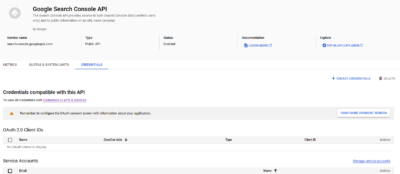
From the API/Service Details page, you’ll need to create credentials for accessing the API. To do this click on the “Credentials” tab:
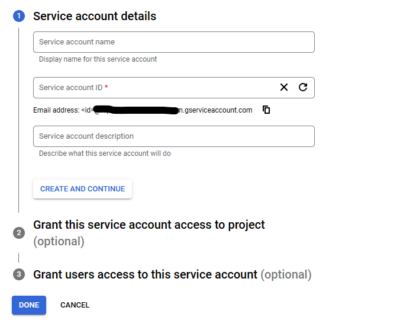
At the bottom of the page, click “Manage Service accounts”. From there, click the “Create Service Account” button. You will then work through the process of creating a service account for accessing the API. Give it a name, and take a moment to copy the email address that is listed as the service account.
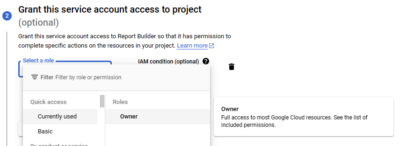
Under step 2, of the service account creation process, chose the “Owner” role, then finish creating the Account.
Generate Access Keys for the Service Account
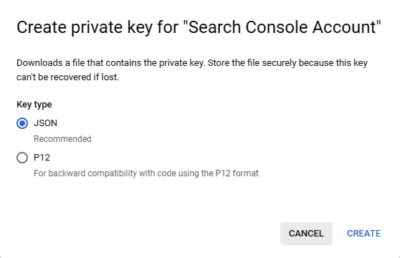
Click on the newly created Service Account to view its details. From there, use the “Keys” tab at the top of the page to navigate to the “Add Key” page. Click the “Add Key” button and “Create a New Key”. Select “JSON” as the type of key to create.
Once you create the Key, it will download the JSON file automatically. You will use this file in your applications to access the Google Search API. One last step remains to give the service account access to the data.
Add the Service Account as an Admin to the Site
Finally navigate to the Search Console Settings page for the site you are interested in: https://search.google.com/search-console/settings
Click the “Add User” button and add the email address you copied from the steps above. (If you did not copy the email address, you can also find it in the JSON file you downloaded). Give the account “Full” access.
All the ground work is now complete for the service account to start pulling data from the Google Search Console API.
Our next post will show code samples for connecting and pulling the data.


